Add New Microchip / Delete Incorrect Microchip
The purpose of microchip implants used for pets is to provide a form of permanent identification, ideally is should be an ISO compliant chip.
Microchips are internationally regulated by the International Organization for Standardization (ISO, iso.org). The biggest advantage to ISO compliance is that all of the chips emit the same frequency, leaving less risk of using a scanner that can’t detect the microchip. The United States doesn’t currently require that all chips are ISO compliant, so it is not safe to assume that a U.S. chip is compliant (especially older chips). Check the chip’s frequency with the manufacturer if you have any questions. If a pet travels internationally, an ISO-compliant microchip is critical because ISO chips are required for entry into many countries (particularly in Europe).
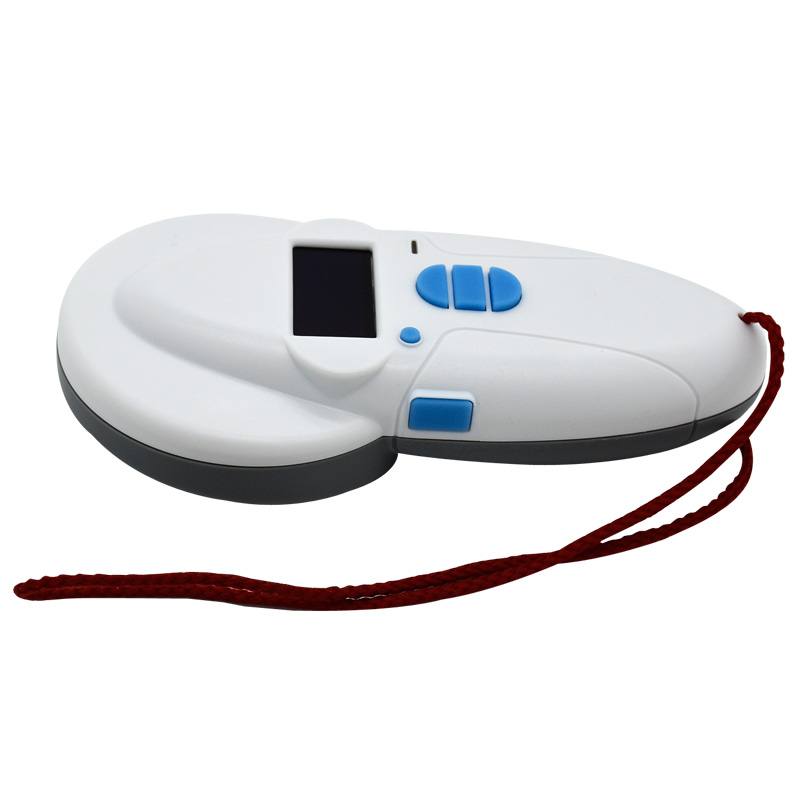
A microchip is a radio-frequency identification (RFID) tag. The microchip is implanted in your dog between the shoulders. It has no battery and no internal power source, so it sits inertly in the dog until it is read by a microchip scanner (image 2).
The chip/tag carries a unique identification number. ISO chips are special or different in that they are 15 digits long. Chips are roughly the size of a grain of rice (image 1). When the microchip is scanned by a vet, shelter, or officer it transmits the ID number to be read in a scanner device.
The sooner you get your puppy microchipped, the sooner your dog is protected should it get loose or become lost. Many veterinarians recommend having them microchipped at their first vaccination, roughly at eight weeks of age. You may also want to consider local laws regarding pet registration, vaccination, and microchipping. For dogs that potentially will be travelling out of country they reside in, it is required to have the microchip implanted prior to the rabies vaccination being given and to provide this confirmation on their documentation.
image 1) 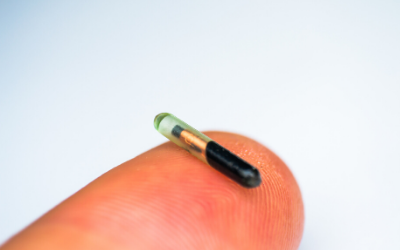
image 2) 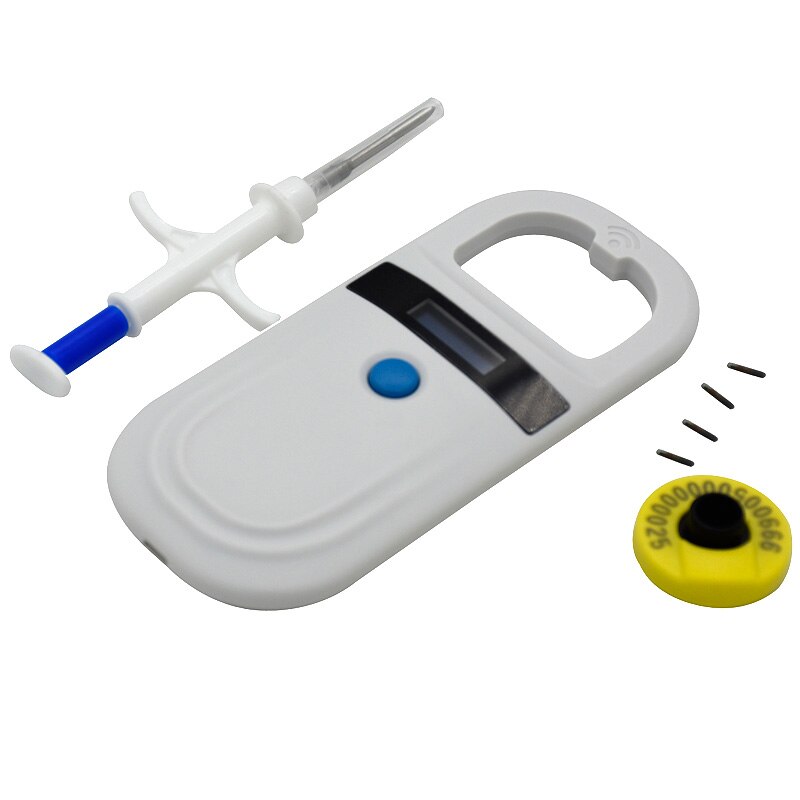
To add a microchip when there is no microchip currently listed
Step 1. You can enter this data in either of these places:
1). [Manage Your Dog’s Data] and select [MyDogs], OR Click on [MyDogs] Quick tab.
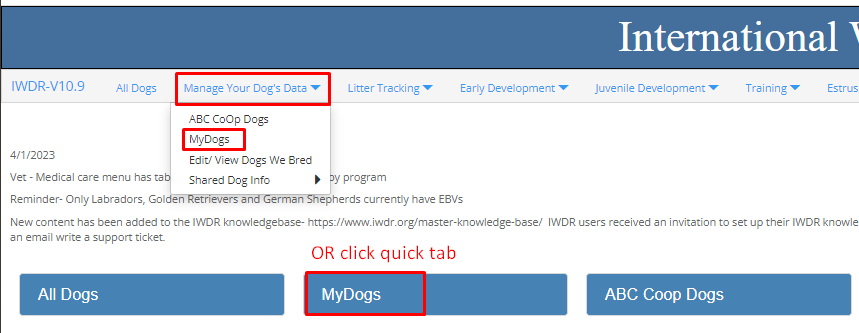
2). Or go to [Estrus Whelps Puppies] and select [Enter Puppies Edit Whelp Info] then click on puppies and choose the puppy.
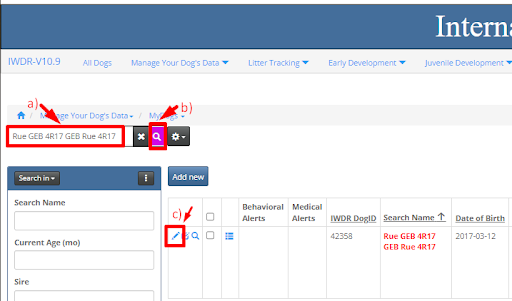
Step 2. Next, under the Edit icon (Pencil), look for the microchip fields in the right column.

Field a) Microchip Number – enter the chip ‘number’ which can include numbers and letters
Field b) Microchip Type – Required if a number is added. From the drop down menu select the type/brand of microchip that was implanted (EIDAP, 24hour PetWatch, AVID, etc.)
Field c) Microchip Date –Enter the date in which the implant was completed. Although the data is not required, it is important as the implant date is required on all transportation and health certification documents when travelling.
Step 3. Once completing all fields, click [Save] at the bottom of the page.

Change the existing microchip number
There are two reasons you might want to do this:
- A New microchip is inserted that you want to be the primary number
- You want to delete a microchip that was incorrectly added and the correct number needs to be entered
Step 1: Go to [Manage Your Dog’s Data] and select [MyDogs], OR Click on [MyDogs] Quick tab. Then click on the details tabs icon, click on [More Microchips].

To add a new microchip,
- click on add new while the More Microchips tabs is highlighted in gray.
- Fill in the fields then save.
-
- Select the microchip Brand from the drop down menu and enter the Microchip Number.
- Primary Microchip- Select YES from the drop down if this microchip is the one you want to be displayed on the dog’s record. Only one microchip number can be primary so be sure to edit any other microchip to be Primary = NO.
- If you have the Microchip Date (the date the chip was implanted) enter this as well. This information will be required if the dog is ever requiring an international health certificate, to go through customs.

Deleting a microchip
If you find a microchip has been inaccurately added, either to a wrong file or the number is entered incorrectly, you can easily delete the misinformation. To do this follow these steps:
- In MyDogs, go to the Show details tab and select [More Microchips]
- Click on the box next to the chip number that you want to delete
- By clicking this box, it will activate the Delete button above. Click the delete button. This removes the chip from the IWDR database
- If this dog has another microchip number listed, edit Primary Microchip = yes so it will display on the dog’s record.

